While usually one of the greatest strengths of Twine is is ability to be run nearly anywhere because of its use of the HTML format, there are some times when you might want to package your files together for distribution. Instead of sending out a URL, for example, you can put all of your resources like images, sounds, and fonts into one single file and then use that single package as your project. In fact, by pairing that package with its own web browser, you can gain more assurance over what a user might see and hear and can better craft the overall experience for them.
To that end, I’ll be covering how to use one of the more popular options for packaging web projects for desktops: Node-Webkit.
Note: This guide will reference using the command-line. If you intend to follow this guide, make sure you are comfortable using that interface.
Note: Because the computer I am writing this on is a Windows machine, this guide will also reference Windows functionality and screenshots. However, Node-Webkit does support both Mac OSX and Linux too.
Introduction
To those unfamiliar with either libraries, let me take a moment here to explain both and the reason for the hyphen.
The first part of the name, Node, comes from Node.js, a increasingly popular way of using JavaScript as a scripting language outside of web browsers. With Node.js, instead of only using JS on a client side, you can leverage it to act as both a web server and the programming to retrieve data from a database too. As well, many developers (including myself) also use it as a general purpose scripting language for taking care of tasks where typing the same commands over and over would be frustrating or as a way to regulate processes with many steps that can be easily combined together.
The second half of the name, Webkit, is “open source web browser engine” that runs many of the applications like Safari (on all iOS devices), Mail, and Dashboard in Mac OSX. It was also, until more recently, the engine behind Google’s Chrome browser too. It’s an engine that has been around for a number of years and has seen a great many improvements in speed and rendering optimizations.
The name is hyphened, as you might imagine, because the project is a combination of the two libraries. It takes the flexibility and scripting ability of Node and merges it with the browser engine of Webkit. It’s an easy way, as I wrote at the top of this post, to package sites and projects that would have run online through a web browser to now have a web browser as part of the single file distributed together.
Getting Started
To start, we will need the Node-Webkit binary files.
To get these, visit its GitHub page and scroll down to the Downloads section.
Under the “v0.10.2” bullet, click on the version that matches your operating system. (For this guide, that will be Windows, so click on the “win32” build link.)
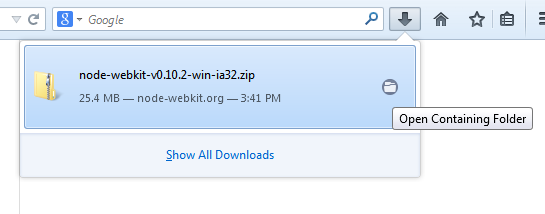
If you are using Firefox or a similar browser, you can open a list of recently downloaded files and select the node-webkit ZIP file from there. (For Chrome and other browsers, this download might be found on the bottom of the page.)
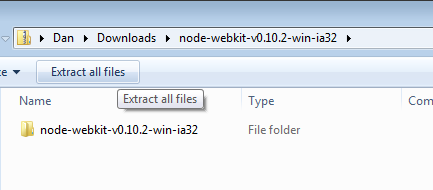
Regardless, find the file and click on it.
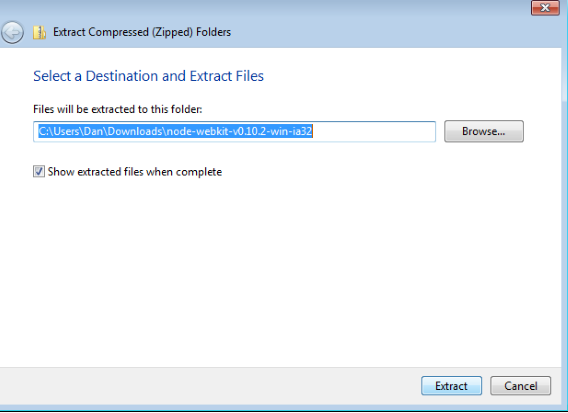
Find the “Extract all files” button.
Click on “Browse” to select the path to extract the files to or, if you have no preference, extract them to the same directory as they were downloaded. (If you prefer not to open the folder after the files are extracted, leave the “Show extracted files when complete” option marked.)
Click on “Extract” to begin the extraction.
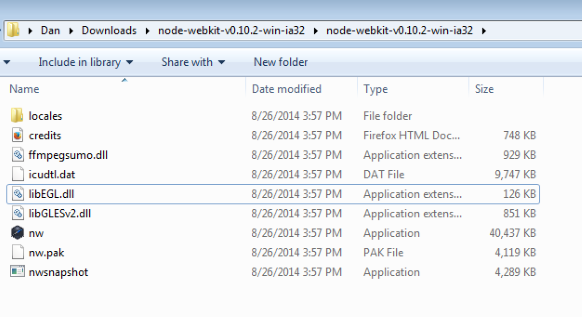
Once extracted, open the folder. In it, you should see the “nw.exe” file as well as many others. This is the compiled, binary version of Node-Webkit.
To use it, we will need to create a “package.json” file that will be the instructions for how Node-Webkit will operate.
One way to create this file, and the way I will go over, is to create a new text file first.
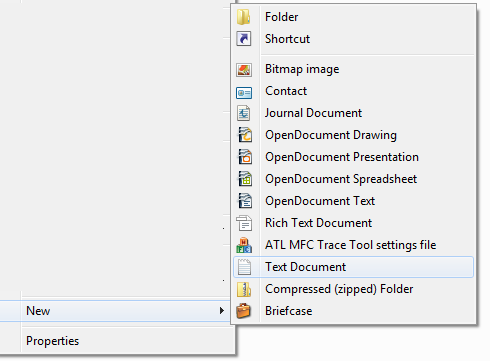
From the right-click context menu (opened by right-clicking inside a folder), go to New -> Text Document.
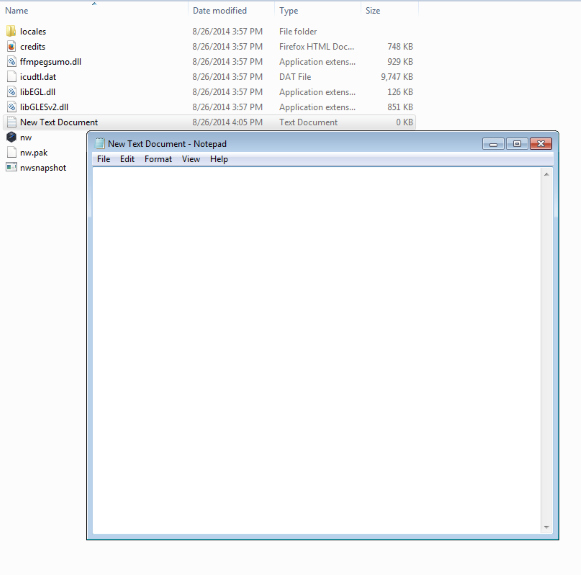 Once this file is created, open it.
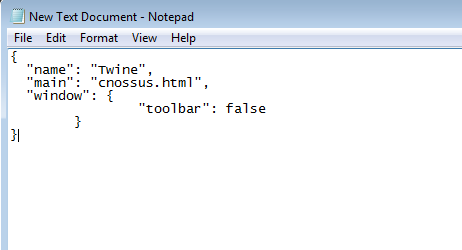
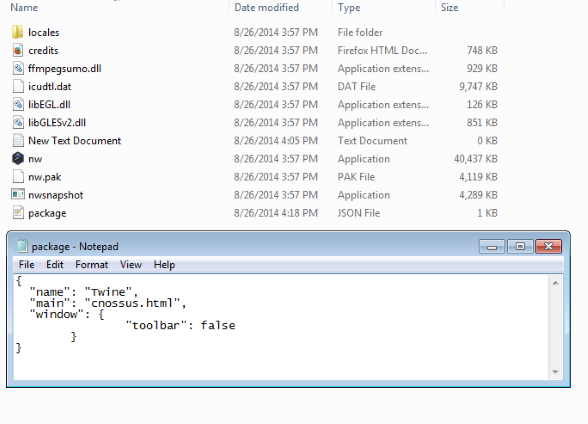
Copy and paste in the following into the file:
{
  "name": "Twine",
  "main": "cnossus.html",
  "window": {
		"toolbar": false
	}
}
Note: I plan to use my “Cnossus” Twine project as the example here. You will need to change the name to match whatever file you plan on using.
Once you have copied and pasted the text from above, as well as changed the file name to match your own, it is now time to save the file. (If needed, you can always edit it later too.)
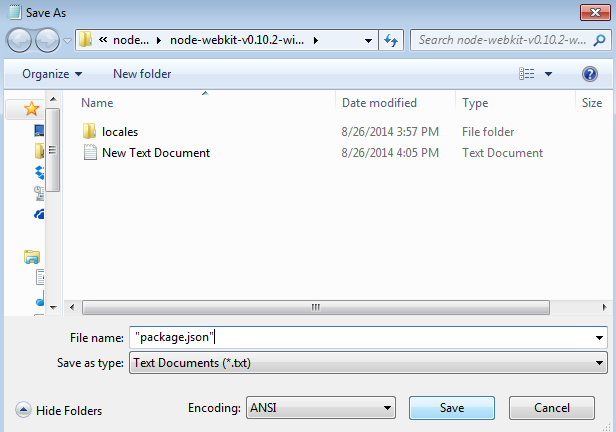
To create the package.json file, go to File -> “Save As…” from the menu. Within the File name field type the following exactly: “package.json”
(Be sure to include the quotation marks!)
If the file was created correctly, there should now be a “package.json” file within the directory and Notepad should have changed its title to “package”.
Now, we need to move our Twine file over.
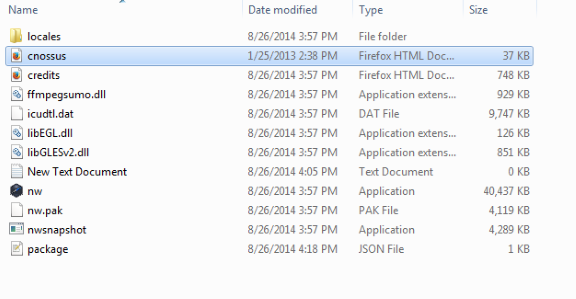
Either by saving into the folder directly or by copy-and-pasting it, move a HTML file into the same directory. (For this guide I’ll be using my Cnossus file for all screenshots.)
Once it has been moved over, it is now time to test the files before packaging them together.
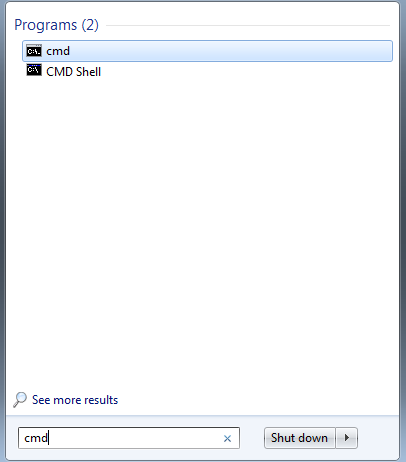
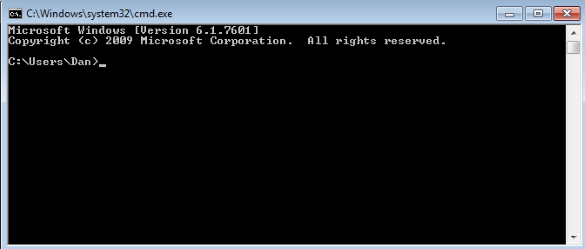
To test the files, we will need a command-line window. To open one, type in “cmd” in the Program FIles menu and press enter.
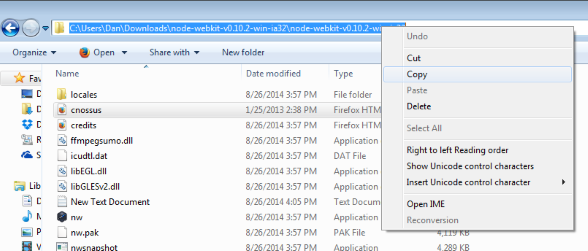
To navigate to the directory with our Node-Webkit files, return to the open directory in Explorer.
Click on the file URL at the top. Once it becomes text, right-click on it and select Copy from the menu.
Return to the command-line window.
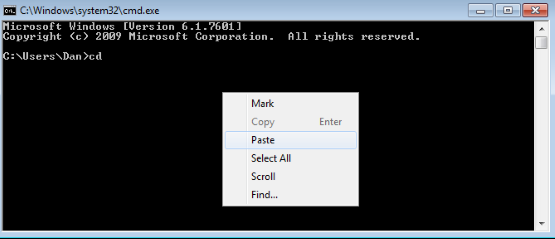
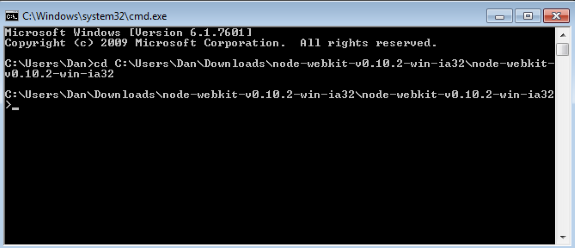
Type “cd” and right-click on the window. Select Paste.
Press Enter.
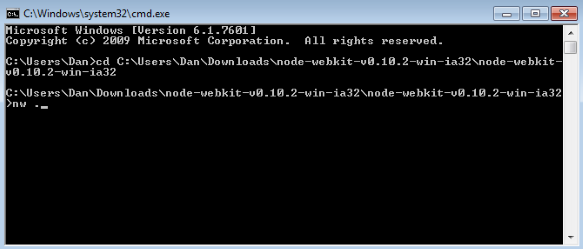
Now, finally, we are ready to test the files.
(That’s the command “nw” followed by a space and a period.)
Press Enter.
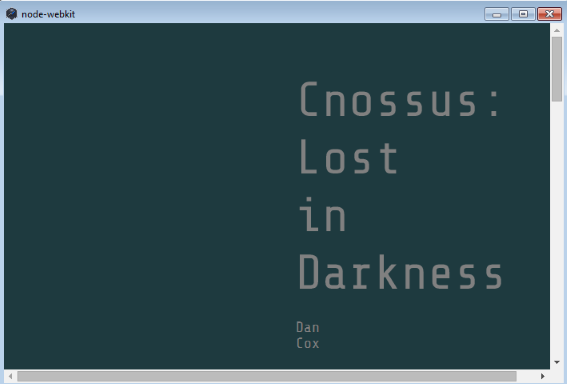
If everything worked correctly, you should see your Twine project opened in the Node-Webkit window.
Congratulations!
Packaging Files
After testing your files, changing settings, or otherwise getting your project ready, it is time to package your files together.
To do that, you first need to ZIP the files together.
From the directory containing your project, select the files you want to zip together (including package.json) and right-click on them. Select Send to -> Compressed (zipped) folder.
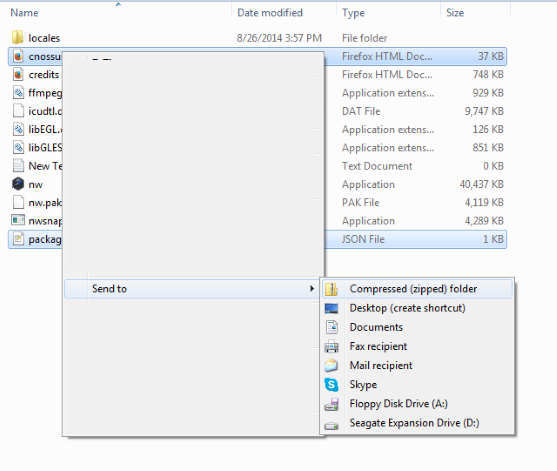 This will create a ZIP file with its name as the last file selected. (In this guide, that will be “package.json”.)
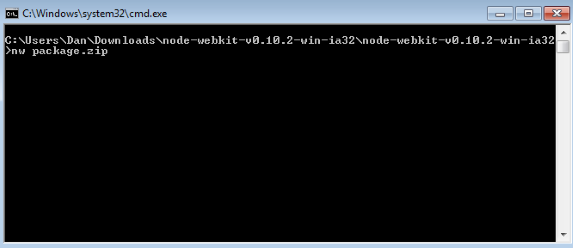
Once created, let’s test it one more time.
To do that, run “nw package.zip”
(Assuming everything looks and works as it should, it is time to move to the last command.)
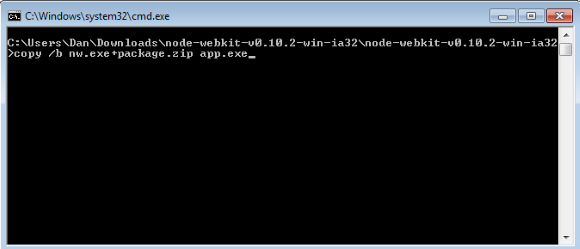
As the last step, combine the Node-Webkit binaries with your ZIP file.
The command to do that is: “copy /b nw.exe+package.zip app.exe”
(If you wish to change the final executable name, you can change it to something other than “app” here too.)
Press Enter.
If everything worked correctly, a new file should have been created in the folder matching the name of the executable you choose (or “app.exe” by default).
Your Twine project is now packaged with Node-Webkit!
Distribution
In order to run, your packaged application will need both the “nw.pak” and “icudt.dll” files. Be sure to include those two files.
If you are are using video or audio, you will also need the “ffmpegsumo.dll” file.
Finally, although unlikely in a Twine project, the “libEGL.dll” and “libGLESv2.dll” files are needed for for WebGL support in Webkit.
Additional Notes
- While I used the simplest example in this guide, there are more options for package.json and example code to do much more on the Node-Webkit wiki.
- When packaging files using Node-Webkit, consider if the end user will have a network connection or not. If you are using Google Web Fonts (as my example Twine project did), they may not load without a network connection. Therefore, it is always best to include everything a user might need as part of the package.


Thanks for writing this up! I’ve been meaning to research this for a couple different projects (one of them rhymes with “pine crew”) and this is a really nice, comprehensive set of steps. Would you consider adding it to the Twine wiki?
Sure! I’d be glad to add it to the Twine wiki.
I’ve actually been hoping to get some screenshots of use on Mac OSX at some point soon too, so I might wait a few days to collect up how Node-Webkit (and Twine!) works on various platforms.